The Quiz Question
Which battle on 2 April 1879 saw a British relief column defeat a Zulu impi to finally lift the siege of Eshowe?
- A. Battle of Gingindlovu
- B. Battle of Ulundi
- C. Battle of Nyezane
- D. Battle of Khambula
The answer is A. Battle of Gingindlovu. Here is the full story.
On the morning of 2 April 1879, roughly 10,000 Zulu warriors swept out of the Zululand bush towards a British laager near the Nyezane River. Inside that makeshift fortress of wagons and rifle pits, Lord Chelmsford's relief column stood between a desperate garrison and annihilation. What happened next would change the course of the Anglo-Zulu War — yet Gingindlovu remains one of the least celebrated decisive battles in British military history.
A Fortress in the Wilderness: The Hook
For ten weeks in early 1879, over 1,300 British troops sat trapped inside a fortified Norwegian mission station at Eshowe, deep in Zululand. They had dwindling rations, rising sickness, and only a flickering heliograph beam connecting them to the outside world.
The siege had begun in the immediate aftermath of one of the most catastrophic defeats in British imperial history. When news of Isandlwana reached Colonel Charles Pearson's Coastal Column in late January 1879, the entire strategic situation collapsed overnight. Pearson's men had already pushed too far into Zululand to simply walk away — so they dug in and waited.
Eshowe was converted into a fortress of necessity. Men loopholed walls, threw up earthworks, and scanned the surrounding hills for Zulu movement. Word eventually came by heliograph that a relief column was forming. But a powerful Zulu impi had been ordered to stop it. The confrontation at Gingindlovu would decide whether those men at Eshowe lived or died.
The Anglo-Zulu War: Setting the Scene
The war opened on 11 January 1879 when Lieutenant-General Lord Chelmsford led a British invasion of Zululand in three columns, supremely confident that King Cetshwayo's army would be crushed in a matter of weeks. That confidence was shattered eleven days later.
At Isandlwana on 22 January, a Zulu impi overran the central column's camp, killing over 1,300 British and allied troops in one of the worst defeats ever suffered by the Victorian army. The disaster sent shockwaves through London and forced a complete rethink of the campaign. You can read more about that catastrophic day in our article on the Battle of Isandlwana.
Pearson's No. 1 Column — the Coastal Column — had already crossed the Thukela River and fought its own engagement at Nyezane before advancing to Eshowe. When Chelmsford's orders arrived giving Pearson the choice to retreat or fortify, Pearson chose to stay. He sent his mounted troops and non-essential personnel back to the border and prepared for a siege. Back in Britain, public outrage over Isandlwana was forcing the government's hand — reinforcements were already being packed onto troopships.
Trapped at Eshowe: Life Under Siege
Pearson's garrison included men of the 2nd Battalion, 3rd Regiment of Foot (The Buffs), the 99th Regiment of Foot, Royal Engineers, and sailors of the Naval Brigade — a mixed force thrown together by circumstance into a miserable, cramped fort. By mid-February, rations had been cut to half allowances. Horses began dying from lack of forage.
Disease proved almost as deadly as any Zulu spear. Enteric fever and dysentery spread through the overcrowded garrison, sending dozens of men to the makeshift hospital and killing some outright. The psychological strain of confinement — scanning the bush for warriors who might never come, or might come at any moment — wore heavily on officers and men alike.
Zulu patrols kept constant watch around the mission station's perimeter, making any serious sortie extremely dangerous. The garrison's lifeline was its heliograph, a mirror-signalling device capable of flashing messages over thirty miles of open country. Through this slender thread of light, Chelmsford kept Pearson informed — and kept hope alive inside the walls of Eshowe.
Chelmsford Organises the Relief Column
With reinforcements streaming in from Britain, Chelmsford was able to assemble a formidable relief force of approximately 5,670 men. The column included regulars from the 57th Regiment of Foot, the 60th Rifles, and the 91st Highlanders, supplemented by the Naval Brigade with its Gatling guns and rocket tubes, mounted infantry, and contingents of the Natal Native Contingent.
The column crossed the Thukela River at Fort Pearson on 29 March 1879. Chelmsford moved with conspicuous caution — the ghost of Isandlwana hung over every decision. Each night the column formed a tight laager, wagons drawn into a defensive perimeter with infantry positioned to fire outward. No campsite was left without proper entrenchment. The contrast with the fatally relaxed camp at Isandlwana was deliberate and absolute.
Intelligence reaching Chelmsford suggested that a Zulu force of 10,000 to 12,000 warriors was massing ahead of the column, ordered by King Cetshwayo to stop the British before they reached Eshowe. Cetshwayo understood perfectly what was at stake — allowing a successful relief would restore British momentum and signal that his kingdom could not hold the initiative it had seized at Isandlwana.
2 April 1879: The Battle of Gingindlovu
In the early hours of 2 April, the British column established its laager near the Nyezane River. The soldiers had already given the site an irreverent nickname — 'Ginginhlovu,' a local term loosely interpreted as meaning 'he who swallowed the elephant,' a ribald reference to King Cetshwayo himself. The men slept on their arms, knowing an attack was almost certainly coming.
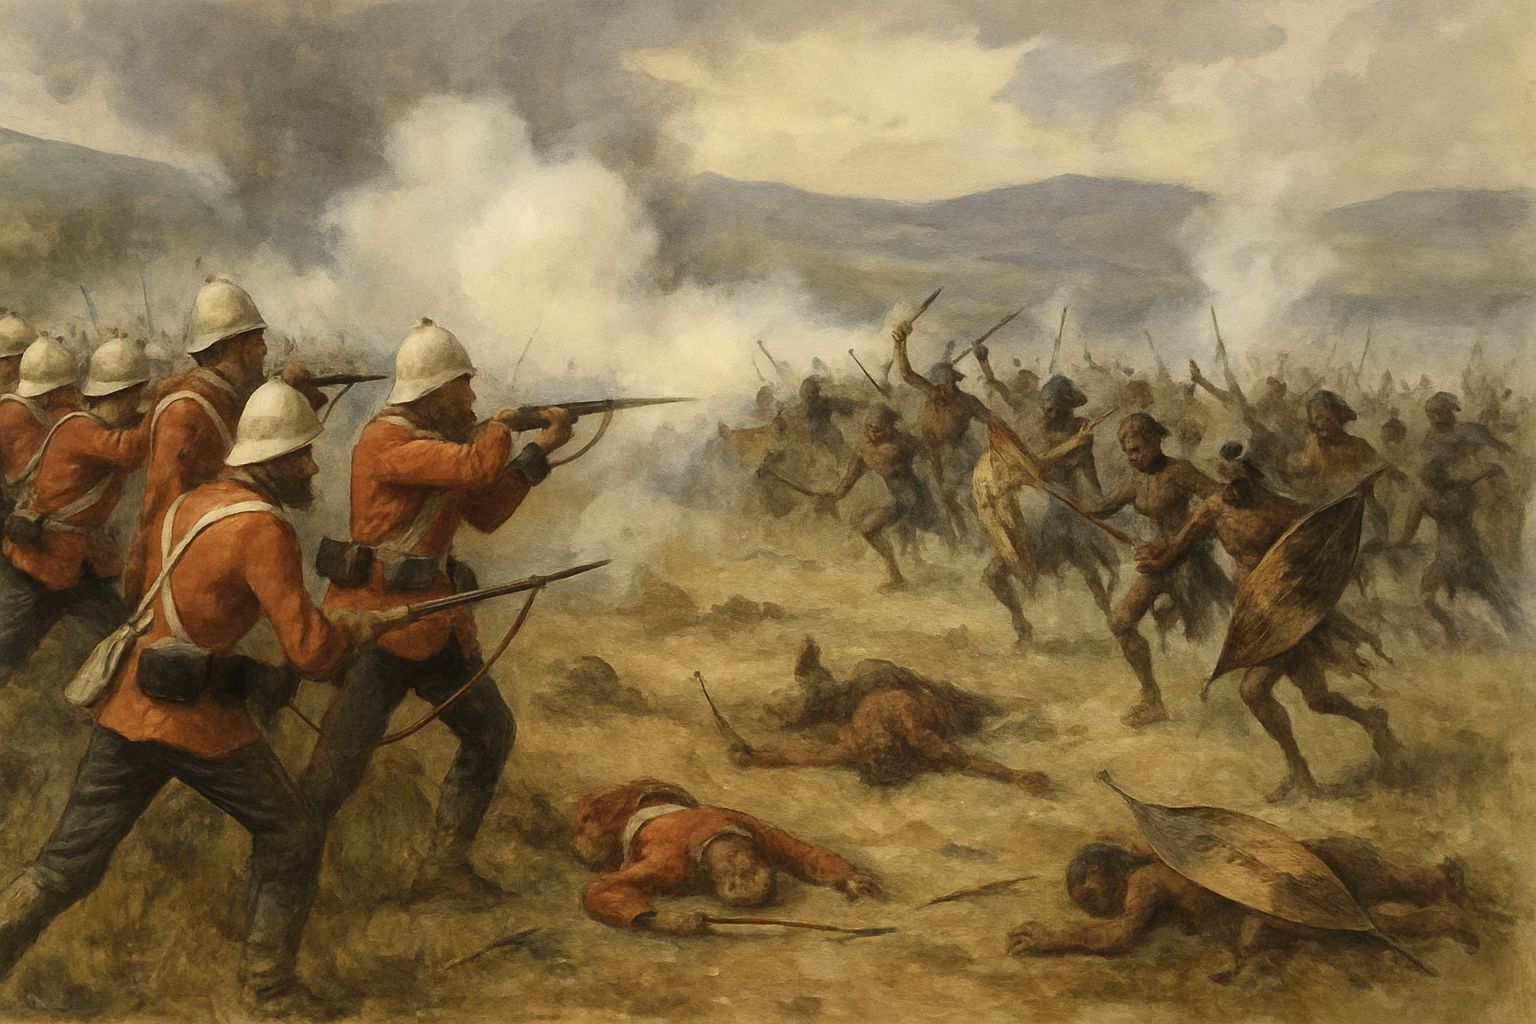
At around 6:00 a.m., the Zulu impi emerged from the surrounding bush and long grass, advancing in the classic 'chest and horns' formation designed to encircle and overwhelm an enemy position. An estimated 10,000 to 12,000 warriors came on in a series of disciplined rushes, screaming war cries as they closed the distance to the laager.
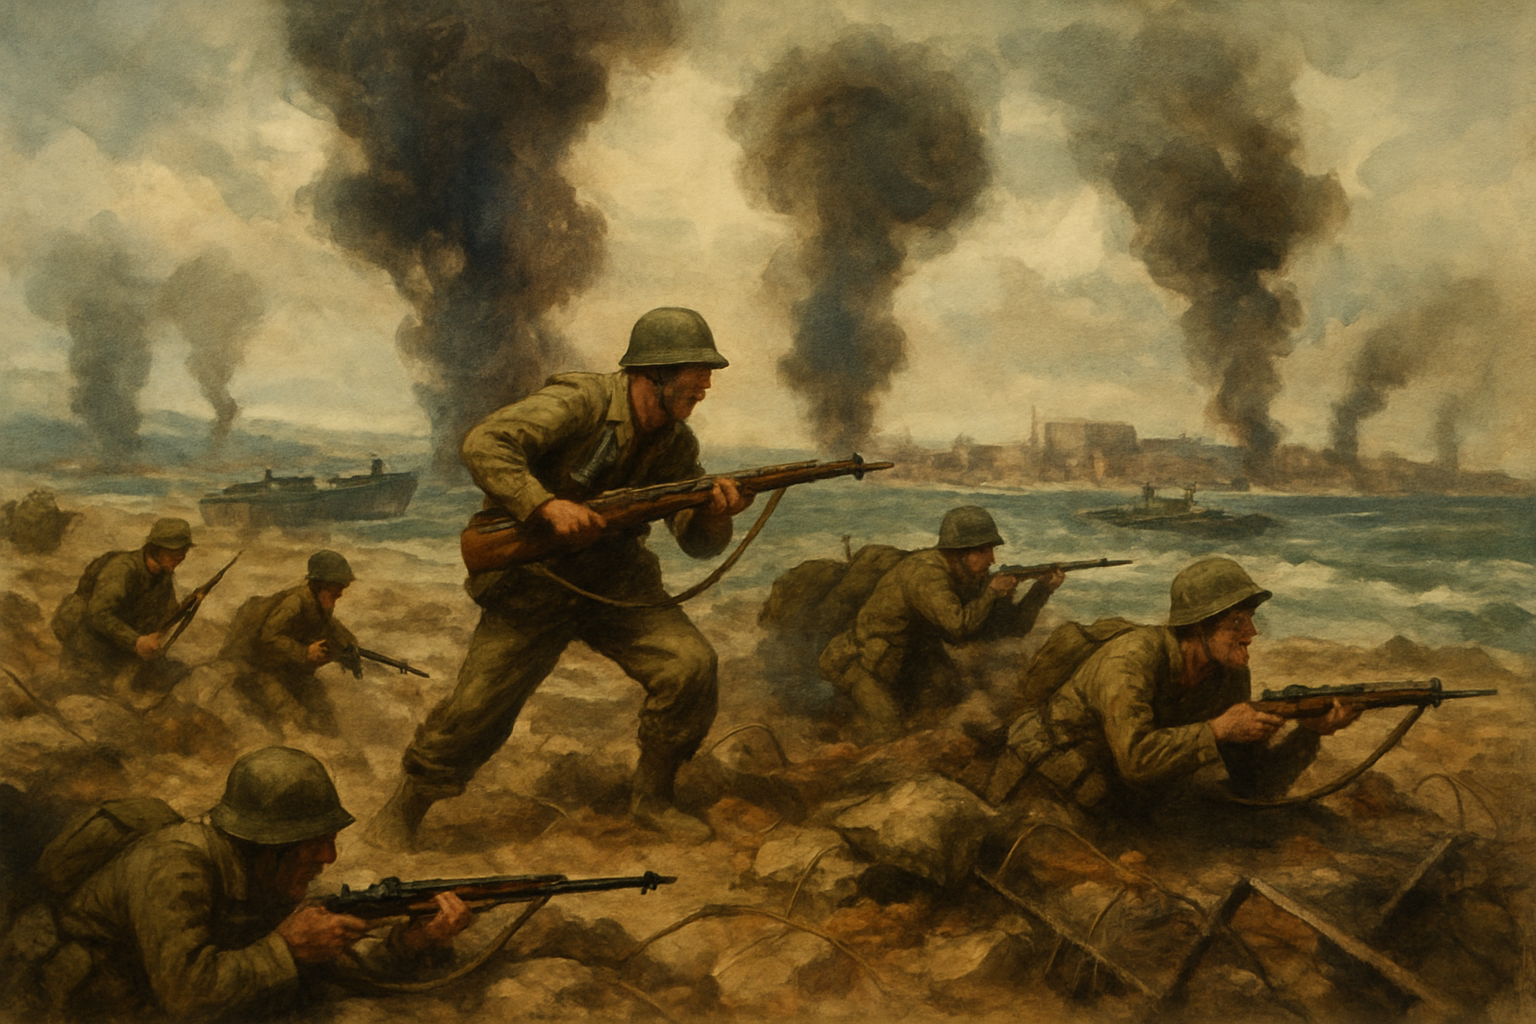
They ran into a wall of fire. The men of the 57th, 60th, and 91st poured volleys from Martini-Henry rifles into the advancing formations, while the Naval Brigade's Gatling guns — capable of firing up to 350 rounds per minute — swept the approaches with a weight of lead that the bravest warriors in the world could not cross on foot. Rocket tubes added to the noise and carnage. The psychological impact of the Gatling guns on men who had never faced such weapons was significant.
The Zulus pressed their attack with extraordinary courage, some reaching within yards of the wagon perimeter. But the laager held. Within 35 to 40 minutes, the main assault had broken and the impi began to withdraw. Chelmsford then unleashed his mounted infantry and Natal Native Contingent in pursuit, cutting down retreating warriors across the surrounding bush. Zulu losses were estimated at between 700 and 1,000 killed. British casualties amounted to just 11 killed and 48 wounded — a disparity that speaks volumes about the decisive advantage of disciplined firepower behind prepared defences.
The Key Commanders and Their Roles
Lord Chelmsford commanded the relief column in person, fully aware that his career and reputation depended on its success. After Isandlwana, he was a man fighting for his professional life as much as for the garrison at Eshowe. His insistence on the nightly laager — mocked by some as excessive caution — proved exactly right.
Colonel Charles Pearson deserves enormous credit for what he achieved inside Eshowe. Keeping over 1,300 men disciplined, reasonably healthy, and psychologically intact through ten weeks of siege, on half rations and under constant threat, required leadership of a high order. His calm steadiness became a model cited in contemporary press accounts.
The Naval Brigade, under Commodore Sullivan, contributed the battle's most decisive technology. The Gatling guns and rocket tubes gave the British a firepower edge that Zulu mass tactics simply could not overcome. Captain Henry Wynne of the Royal Engineers, who had played a central role in fortifying Eshowe, was among the officers celebrated in British newspapers as emblems of steady Victorian military virtue.
The Zulu force was reportedly commanded by chiefs including Somopho kaZikhala. His warriors had been ordered to stop the British at all costs — and they came desperately close to doing so in terms of sheer courage and numbers. That they failed was a product of technology and tactical preparation, not any lack of fighting spirit.
Eshowe Relieved: The Garrison Walks Free
Chelmsford's column reached Eshowe on 3 April 1879, the day after the battle. Eyewitness accounts describe scenes of overwhelming relief as the gaunt, hollow-eyed garrison saw British regulars marching up the track towards them. Men who had maintained stiff military bearing for ten weeks allowed themselves to show just how close to the edge they had been.
Pearson's men were in poor condition — weakened by disease, months of near-starvation rations, and the grinding anxiety of the siege. Many could barely march. The relief had come just in time.
Chelmsford made the tactically sound but symbolically deflating decision not to hold Eshowe. The position was too far advanced and too expensive to keep supplied across open country watched by Zulu scouts. The Norwegian mission station was evacuated and later partially demolished to deny it to the enemy. The entire force withdrew towards the Thukela River. The propaganda value of the relief — reported enthusiastically across Britain — more than compensated for the abandonment of the physical position.
Aftermath: The Road to Ulundi
Gingindlovu, fought alongside the Battle of Kambula just four days earlier on 29 March, effectively ended the Zulu kingdom's capacity for large-scale offensive operations. At Kambula, a similarly disciplined British laager had repulsed another massive Zulu assault with comparable devastation. Together, the two battles broke the strategic momentum the Zulus had seized at Isandlwana. For more on that pivotal engagement, see our article on the Battle of Kambula.
Chelmsford reorganised his forces and launched a second invasion of Zululand in May and June 1879. The campaign culminated in the final defeat of the Zulu army at the Battle of Ulundi on 4 July 1879 — a battle Chelmsford won just days before Sir Garnet Wolseley arrived to supersede him. King Cetshwayo was captured in August and exiled to Cape Town, effectively ending the independent Zulu kingdom.
Chelmsford's reputation remained deeply contested. He had recovered from Isandlwana, but the manner of it — and Wolseley's pointed arrival before Ulundi — ensured no triumphant homecoming. The army quietly concluded that his early mistakes had been too costly to entirely forgive.
Legacy and Why Gingindlovu Still Matters
Gingindlovu is far less famous than Isandlwana or Rorke's Drift, yet its strategic importance arguably surpasses both. It saved an entire British column from slow death by siege, restored momentum to a campaign that had come close to catastrophic failure, and demonstrated conclusively that a well-prepared British defensive position was effectively impregnable against Zulu mass assault tactics.
The battle is a textbook study in how disciplined firepower, combined with proper defensive preparation, can overcome enormous numerical disadvantage — a lesson that echoed through British colonial campaigns for decades afterwards. The Anglo-Zulu War as a whole forced a serious reassessment of how columns were organised, protected on the march, and supplied in the field.
For the Zulu nation, Gingindlovu and Kambula marked the beginning of the end. The proud military system built by Shaka and refined over generations could not bridge the technological gap that the Martini-Henry rifle and the Gatling gun had opened. Courage was not enough. Today, the Gingindlovu battlefield is a recognised heritage site in KwaZulu-Natal, South Africa — a place where visitors can stand on ground soaked in the history of a remarkable, brutal, and consequential war.
If this story moved you, share it with a fellow history enthusiast — and let us know in the comments: had you heard of Gingindlovu before, or was this a corner of the Anglo-Zulu War that had passed you by? We'd love to hear your thoughts.
Further Reading
- The National Army Museum, London — holds significant collections relating to the Anglo-Zulu War, including regimental records, personal diaries, and artefacts from the 1879 campaign
- The National Archives, Kew — contains original War Office dispatches, casualty returns, and operational reports from the Anglo-Zulu War
- The Zulu War — Royal Engineers Museum, Chatham — documents the role of Royal Engineers in the campaign, including the fortification of Eshowe
- KwaZulu-Natal Museum, Pietermaritzburg — houses extensive collections on Zulu history, culture, and the 1879 war from both British and Zulu perspectives
- The Imperial War Museum, London — broader collections on Victorian and colonial-era British military history, providing essential context for the Anglo-Zulu War