The Quiz Question
The German battleship Bismarck was finally crippled in May 1941 when which British weapon jammed her steering?
- A. A submarine torpedo
- B. A Fairey Swordfish aircraft torpedo
- C. A naval mine
- D. A battleship's heavy shells
The answer is B. A Fairey Swordfish aircraft torpedo. Here is the full story.
On the evening of 26 May 1941, one of the most improbable moments in naval history unfolded over the grey, storm-tossed waters of the North Atlantic. A slow, fabric-covered biplane — already considered a museum piece by many aviation standards — launched a torpedo that crippled the most feared battleship in the world. What followed in the next eighteen hours sealed the fate of the German Kriegsmarine's greatest symbol of power.
The Shot That Changed Everything: A Biplane Defeats a Battleship
The Fairey Swordfish torpedo bomber, affectionately known as the 'Stringbag', had a top speed of around 138 mph — slower than many aircraft that had flown in the First World War. Its open cockpits, fixed undercarriage, and fabric-covered frame made it look hopelessly out of place in a modern war.
Against it stood the Bismarck: 50,300 tonnes at full load, eight 15-inch guns, armour plate up to 32 centimetres thick, and a crew of over 2,200 men. She was the pride of Nazi Germany's navy, built to dominate the Atlantic and terrify the Royal Navy into submission.
The torpedo that ended her career jammed her twin rudders at approximately 12 degrees to port. From that moment, Bismarck could not be steered to safety. The contrast between weapon and target — a 1930s biplane and the Atlantic's most powerful warship — makes this one of the Second World War's most dramatic turning points.
Bismarck: Hitler's Atlantic Weapon and Britain's Nightmare
Bismarck was laid down at the Blohm & Voss shipyard in Hamburg in 1936 and commissioned on 24 August 1940. She represented the pinnacle of German naval engineering and a direct challenge to British dominance of the seas.
Her operational mission, codenamed Operation Rheinübung (Rhine Exercise), launched on 18 May 1941. The plan was bold: break out into the open Atlantic, rendezvous with supply ships, and systematically destroy the Allied convoys keeping Britain alive. She sailed accompanied by the heavy cruiser Prinz Eugen, under the overall command of Fleet Admiral Günther Lütjens.
Winston Churchill understood the stakes with absolute clarity. If Bismarck reached the open Atlantic, she could threaten the convoys upon which Britain's survival depended. His order to the Royal Navy was unambiguous: she had to be stopped at all costs. Two capital ships — HMS Hood and HMS Prince of Wales — were dispatched to intercept her in the Denmark Strait, between Iceland and Greenland.
The Sinking of HMS Hood: Why Bismarck Had to Be Stopped
On the morning of 24 May 1941, the two fleets met in the Denmark Strait. HMS Hood — the 'Mighty Hood', beloved symbol of British sea power since her commissioning in 1920 — led the British force into action. She had been the largest warship in the world for much of the interwar period.
At approximately 06:00, a salvo from Bismarck penetrated Hood's after magazine. The explosion was catastrophic. She broke apart and sank in under three minutes, taking 1,415 men with her. Of a crew of 1,418, only three men survived: Midshipman William Dundas, Able Seaman Robert Tilburn, and Able Seaman Ted Briggs.
The loss of Hood sent shockwaves across Britain. She had been more than a warship — she was a national institution, a symbol of imperial confidence that had toured the world in peacetime. Churchill's response was swift and unequivocal: 'Sink the Bismarck.' Every available Royal Navy vessel in the Atlantic was redirected to the hunt.
The Hunt Across the Atlantic: Three Tense Days
After the Denmark Strait action, Bismarck turned south-east toward occupied France. Her destination was the port of Saint-Nazaire, where dry-dock facilities large enough to accommodate her awaited. If she reached Luftwaffe air cover range, pursuit would become virtually impossible.
On 25 May, Admiral Lütjens made a critical error. Believing he was still being tracked, he broke radio silence to transmit a lengthy signal to Naval Group Command West. British direction-finding stations fixed his position, though a navigational error at the Admiralty initially sent pursuing ships in the wrong direction, causing anxious hours of near-panic in London.
The breakthrough came at 10:30 on 26 May. A Consolidated Catalina flying boat of No. 209 Squadron RAF, co-piloted by U.S. Navy Ensign Leonard Smith — operating in a secret observer capacity, as America was not yet at war — relocated Bismarck some 700 miles west of Brest. The sighting was just in time. Force H, including HMS Ark Royal and the cruiser HMS Sheffield, was racing north from Gibraltar to intercept. Without a strike from Ark Royal's aircraft, Bismarck would escape.
The Fairey Swordfish: The Unlikely Weapon That Delivered the Blow
The Swordfish was designed in the early 1930s and made its first flight in 1934. By 1941, it was unquestionably obsolete on paper. Yet the Royal Navy continued to fly it precisely because it worked — and because its quirks offered an unexpected tactical advantage.
It carried a single 18-inch Mark XII torpedo and required a crew of three: pilot, observer, and telegraphist air gunner. Flying in the open North Atlantic in late May, with near-freezing temperatures and heavy seas, demanded extraordinary physical endurance from every man aboard.
Its slow speed — widely mocked — turned out to be a genuine operational asset. German anti-aircraft fire control systems were calibrated for faster, more modern aircraft. The Swordfish flew so slowly that gun predictors frequently overcorrected, sending shells harmlessly ahead of the approaching biplanes. HMS Ark Royal's 825 and 810 Naval Air Squadrons would put this unlikely advantage to lethal use on the evening of 26 May.
The Strike: How One Torpedo Jammed Bismarck's Rudder
The first strike attempt, launched in the early afternoon of 26 May by 825 Naval Air Squadron, nearly ended in disaster. HMS Sheffield had moved ahead to shadow Bismarck but had not been informed of the incoming attack. Several Swordfish mistook her for the target and released their torpedoes — fortunately, faulty magnetic pistols caused most to detonate prematurely, and Sheffield's rapid evasive manoeuvring saved her. It was a humiliating near-miss that added urgency to the second attempt.
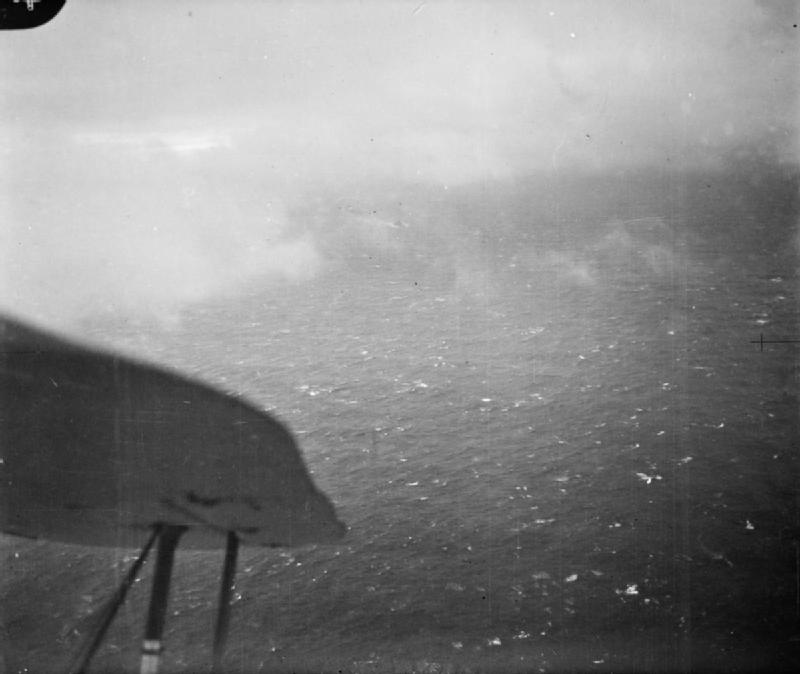
The second strike launched at approximately 19:10 on 26 May: fifteen Swordfish from 818 and 820 Naval Air Squadrons, flying through deteriorating weather, heavy cloud, and intense anti-aircraft fire from Bismarck's gunners. The conditions were brutal — wind-driven rain, failing light, and a heaving sea below.
Two torpedoes struck home. The first hit amidships, causing damage but nothing decisive. The second struck Bismarck's stern — and changed everything. It jammed both rudders hard at approximately 12 degrees to port, flooding the steering compartments and making repair from within the ship effectively impossible.
The pilot credited with firing the decisive torpedo was Sub-Lieutenant John 'Jock' Moffat of 818 Naval Air Squadron, flying from Ark Royal. In later interviews, Moffat recalled approaching through heavy flak and releasing his torpedo 'straight and true' into the heavy swell. He lived until 2016, aged 97, never doubting which moment had determined Bismarck's fate.
With her steering destroyed, Bismarck could only steam in wide circles or directly into the north-westerly wind — which drove her back toward the pursuing British fleet. The trap had closed.
The Final Hours: Bismarck's Last Night and the Men Who Fought Her
Through the night of 26–27 May, a flotilla of destroyers — HMS Cossack, Maori, Sikh, Zulu, and the Polish destroyer ORP Piorun — harassed Bismarck continuously, launching torpedo attacks and keeping her crew at action stations through the long, exhausting darkness. Further torpedo hits were scored, adding to the flooding and the mounting human cost aboard the German ship.
Bismarck's engineers and divers worked in freezing, flooded compartments attempting to free the jammed rudders. The damage was irreparable. As dawn broke on 27 May, Admiral Lütjens signalled Berlin for the last time: 'We shall fight to the last shell. Long live the Führer.'
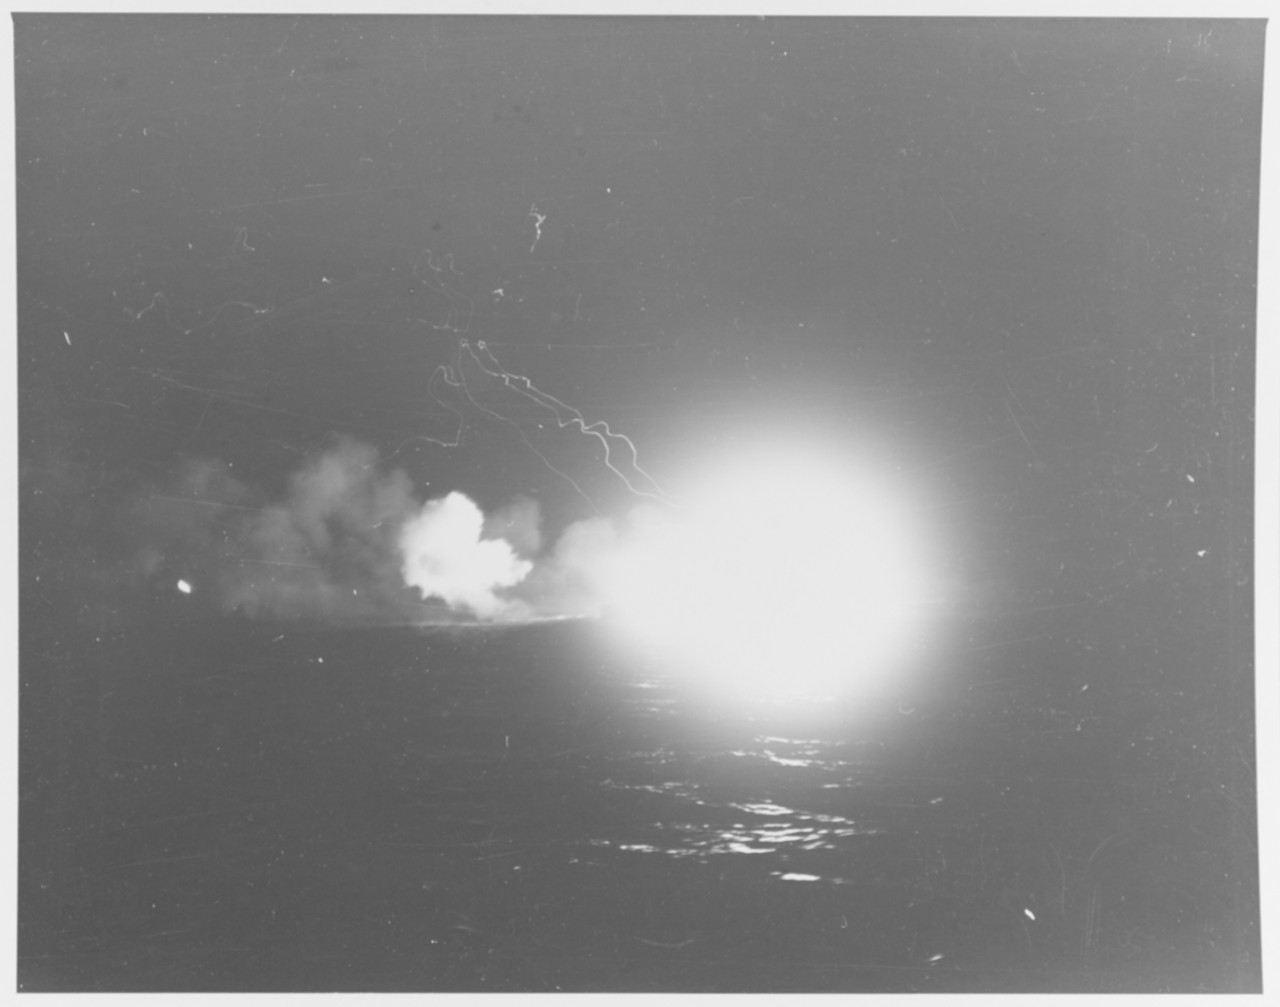
At 08:47 on 27 May, battleships HMS King George V — flying the flag of Admiral John Tovey — and HMS Rodney opened fire. Rodney closed to unusually short range for capital ship warfare, her 16-inch guns pounding Bismarck at near point-blank distance. Within an hour, Bismarck was a burning, listing wreck, her guns silent, her decks devastated.
Bismarck sank at 10:39 on 27 May 1941, at a position of approximately 48°10'N, 16°12'W. Of her crew of around 2,200 men, only 115 were rescued. The cruiser HMS Dorsetshire and destroyer HMS Maori were pulling survivors from the water when a U-boat alert was signalled — both ships were forced to withdraw, leaving hundreds of men in the freezing Atlantic. Admiral Lütjens went down with his ship.
Controversy and Courage: Who Really Sank Bismarck?
The precise cause of Bismarck's sinking has been debated by naval historians ever since. German survivors consistently maintained that their shipmates opened the sea-cocks and set scuttling charges to prevent capture — and that the ship was already doomed regardless of British action.
When oceanographer Robert Ballard located the wreck in 1989 at a depth of 4,791 metres, his examination found the hull largely intact below the waterline, with flooding patterns the expedition assessed as consistent with scuttling. British shellfire had unquestionably reduced her upper works to ruin, but the hull structure below suggested she had not been sunk purely by gunfire.
Sub-Lieutenant Moffat always argued, with considerable logic, that the question missed the point. Without the torpedo strike that jammed her rudders, Bismarck would have reached Saint-Nazaire. Whether she was ultimately scuttled or shelled into submission was secondary — the Swordfish had made her destruction inevitable.
The aircrew of Ark Royal's Swordfish squadrons received relatively little immediate public recognition. The Royal Navy's public narrative naturally emphasised the capital ships. Historians have since been more generous, acknowledging that the men in those open cockpits, flying through Atlantic gales and anti-aircraft fire in fabric biplanes, were the hinge on which the entire operation turned.
Legacy: What the Bismarck Story Tells Us About the War at Sea
The sinking of Bismarck effectively ended Germany's surface raider strategy in the Atlantic. Hitler, shaken by the loss, withdrew his remaining capital ships from offensive Atlantic operations. The Tirpitz — Bismarck's sister ship — spent most of the war in Norwegian fjords, a 'fleet in being' rather than an active threat, tying down British resources but never striking the blow she was built to deliver.
The action also carried a lesson about air power over surface ships that the Royal Navy would have done well to absorb more quickly. Just six months later, in December 1941, Japanese aircraft sank HMS Prince of Wales and HMS Repulse off Malaya — the same Prince of Wales that had fought Bismarck in the Denmark Strait. The age of the battleship was ending; the age of the carrier had arrived.
The Fairey Swordfish itself went on to a remarkable combat record, sinking more Axis shipping tonnage than any other Allied aircraft type. Its finest earlier hour had come in November 1940, when Swordfish from HMS Illustrious crippled the Italian fleet at Taranto — a raid that directly inspired the Japanese planning for Pearl Harbor.
The story of Bismarck's pursuit entered British popular culture through the 1960 film Sink the Bismarck!, starring Kenneth More, which brought the drama to a post-war generation. It endures because it contains everything that makes naval history grip the imagination: extraordinary courage, bitter loss, technological surprise, and the humbling reminder that in war, the outcome is never as predictable as the hardware suggests.
Further Reading
- Imperial War Museum (IWM), London — holds oral histories, personal papers, and photographic archives relating to the pursuit of Bismarck and the Fleet Air Arm
- The National Archives, Kew — Admiralty operational records and signals from the Bismarck operation are held within the ADM series
- Fleet Air Arm Museum, RNAS Yeovilton — the national museum of British naval aviation, with significant Swordfish and Ark Royal collections
- National Museum of the Royal Navy, Portsmouth — covers the broader history of the Royal Navy's Second World War campaigns including the Battle of the Atlantic
- The National WWII Museum, New Orleans — provides broad context for the Atlantic war and Allied naval strategy, with accessible resources for general readers